The lockdowns in Melbourne, Australia were a time of adjustment and adaptation for everyone. With limited social activities and more time at home, many people decided to use this time to revamp their living spaces. In this article, we’ll take a look at one household’s journey from a concrete-floored room to a fully functional photo and video studio.
The Living Room to Studio Transformation
The Big Clean Out
Lockdowns meant that people had more time on their hands than they were used to. So, we decided to declutter the house and get rid of the living room. We moved all the furniture to the next room and threw away things that we no longer needed.
The White Room
With the living room gone, we had an empty room with a concrete floor and a large echo. The first job was to paint the room with the whitest white to make it look fresh and vibrant.
The Wooden Floorboards
Next, we hired a professional chippie to lay down wooden floorboards. After some broken backs and trips to the chiropractor, the wooden floorboards were laid down beautifully.
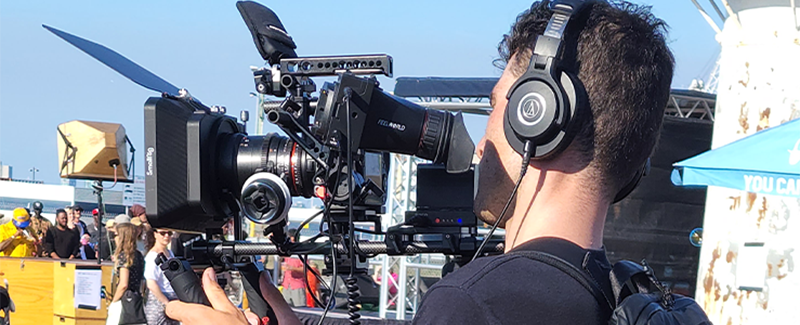
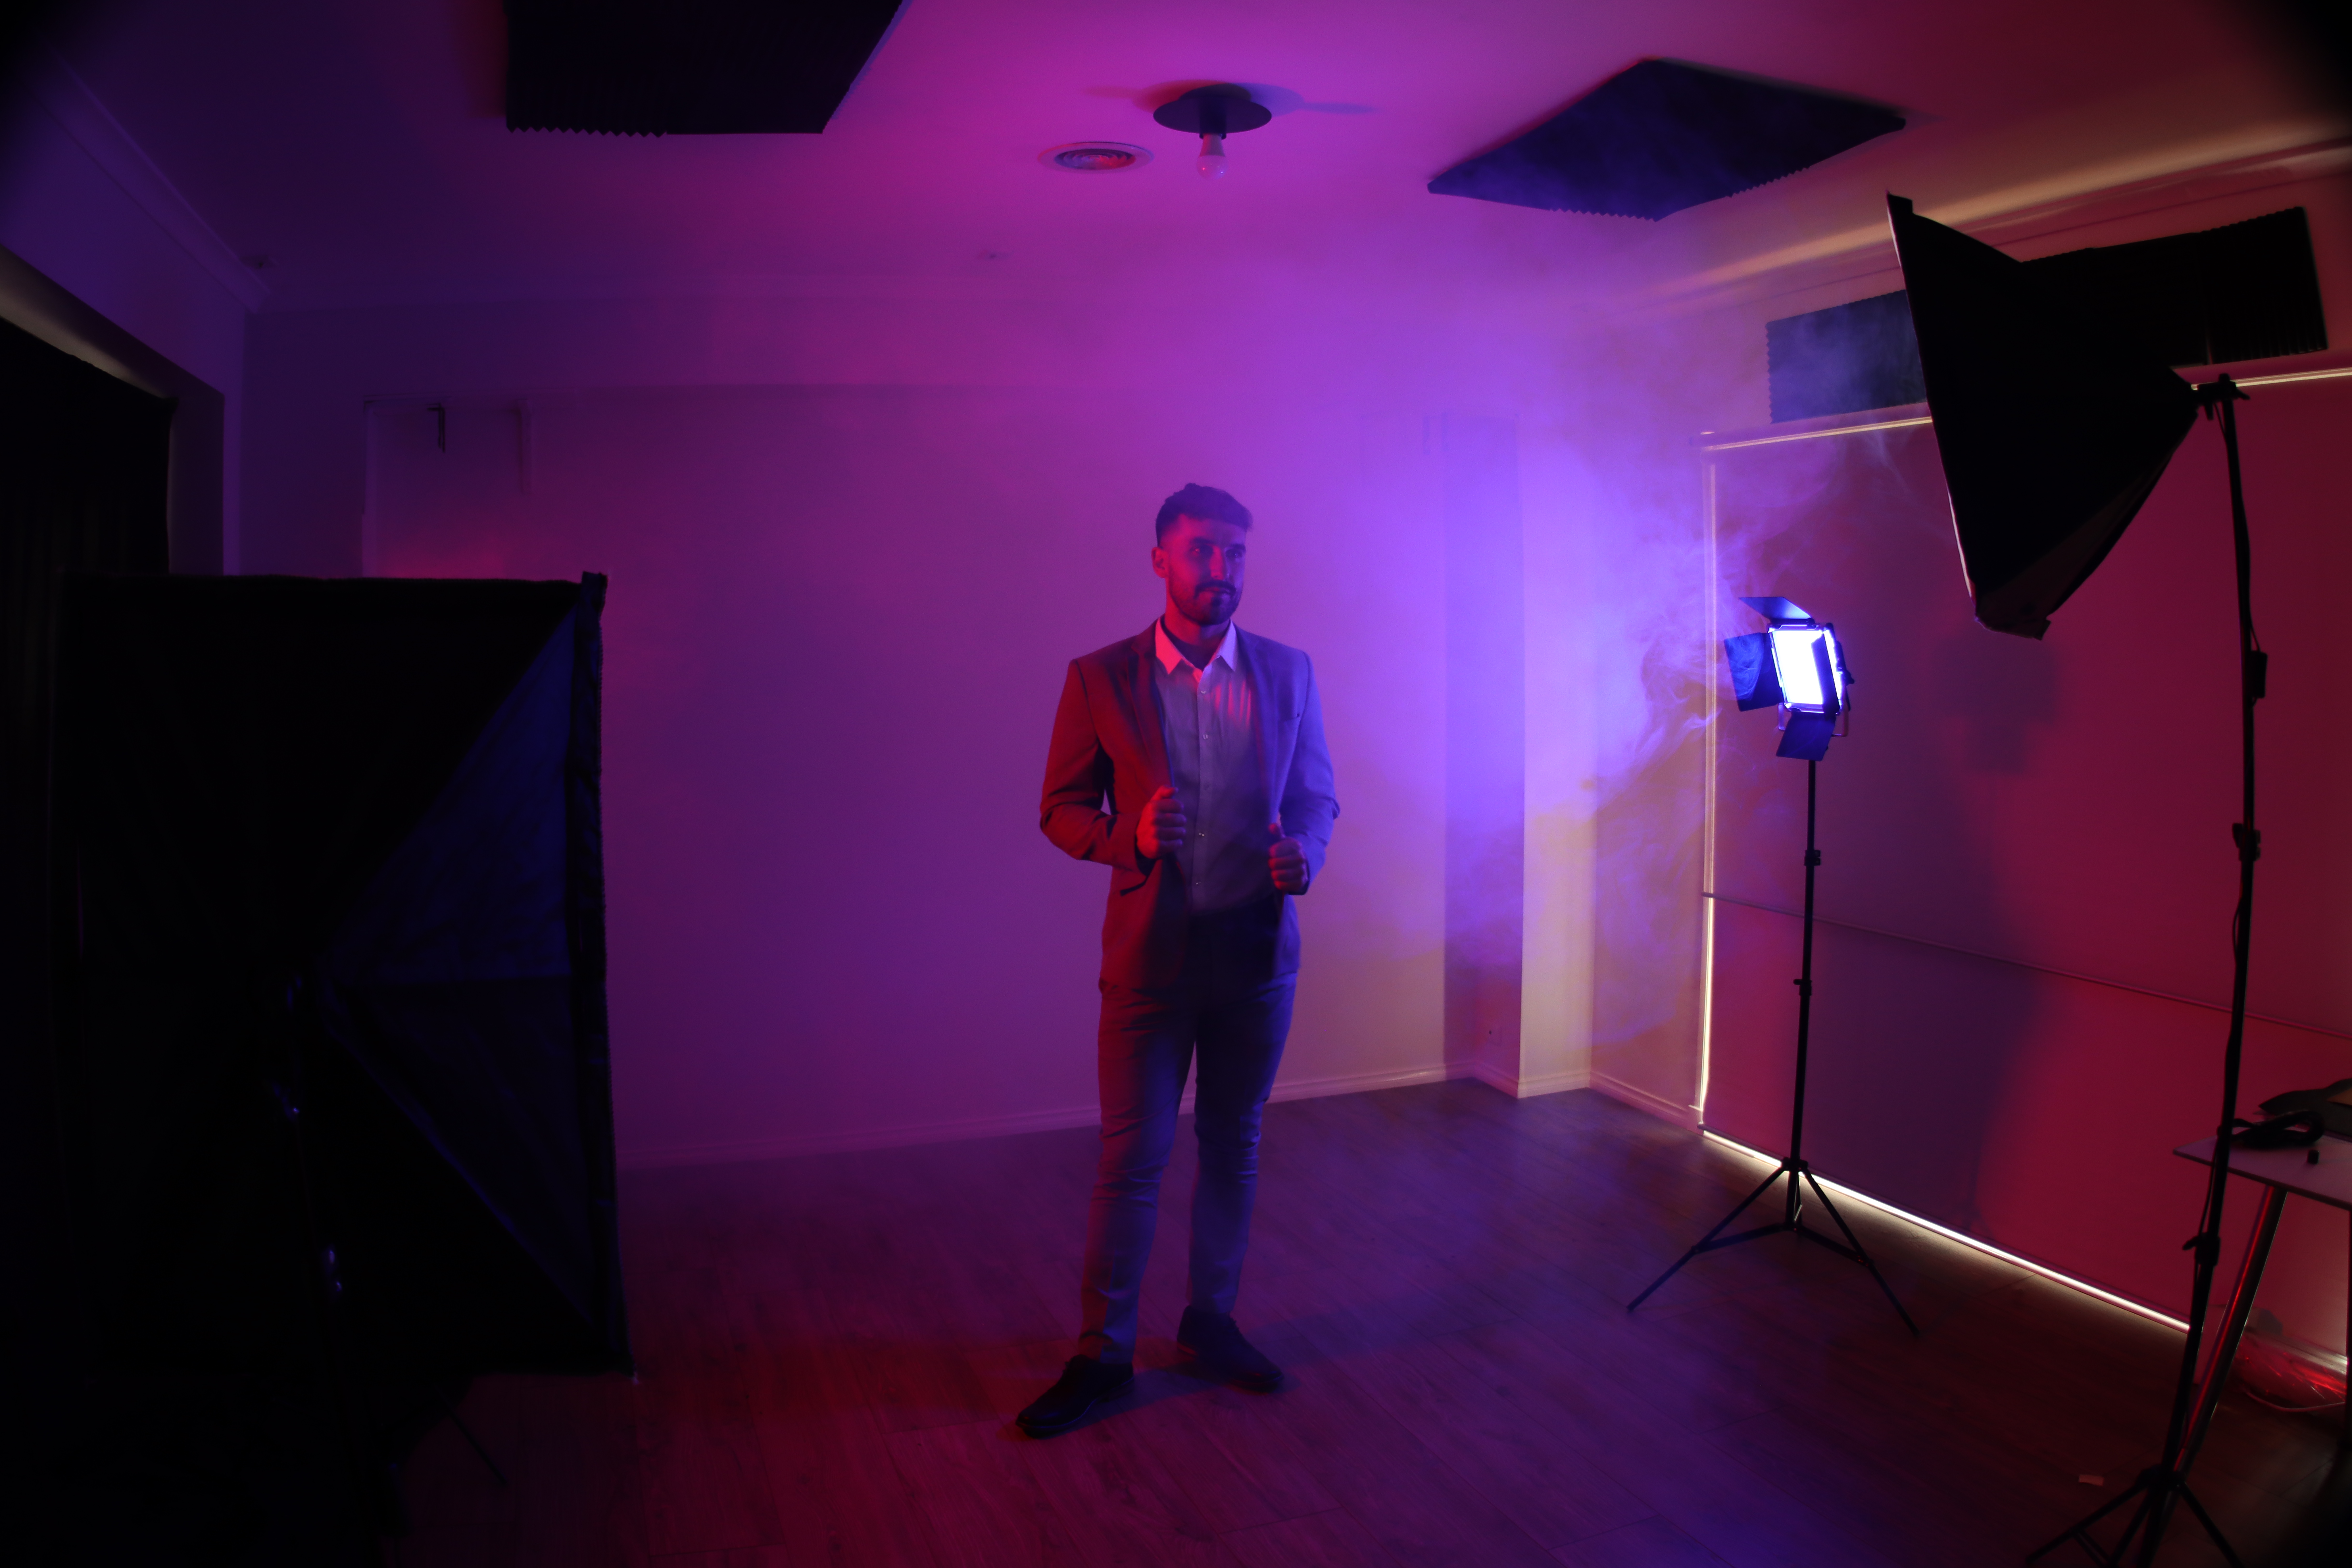
The Photo/Video Studio
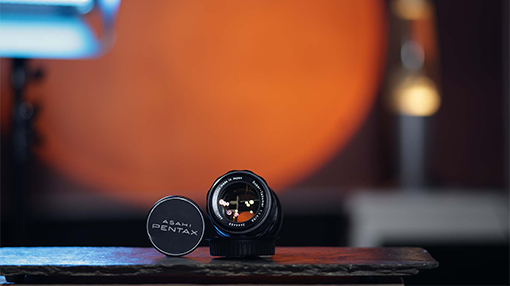
After the wooden floorboards, it was time to break our backs again to install the Neewer Backdrop. Unfortunately, the plaster couldn't hold the metal hooks, and we almost got a concussion. So, we headed to Bunnings and found big screws to go into the wall studs. A long PVC pipe, fabric background, paper backgrounds, lights, sound foam cards, a tool chest, standing desk, and bip-bop-boo were added. And of course, more lights, lenses, fabric backdrops, hooks, and pipes.
The Shipping Container Dilemma
Originally, we had planned to get a shipping container to be put along the side of the house. But due to Covid, shipping containers went from being $7000 new to $13,000 used. So instead, we built it inside the house, which turned out to be more spacious and usable than we could have ever imagined.
Building a Photography Portfolio
Finding Models
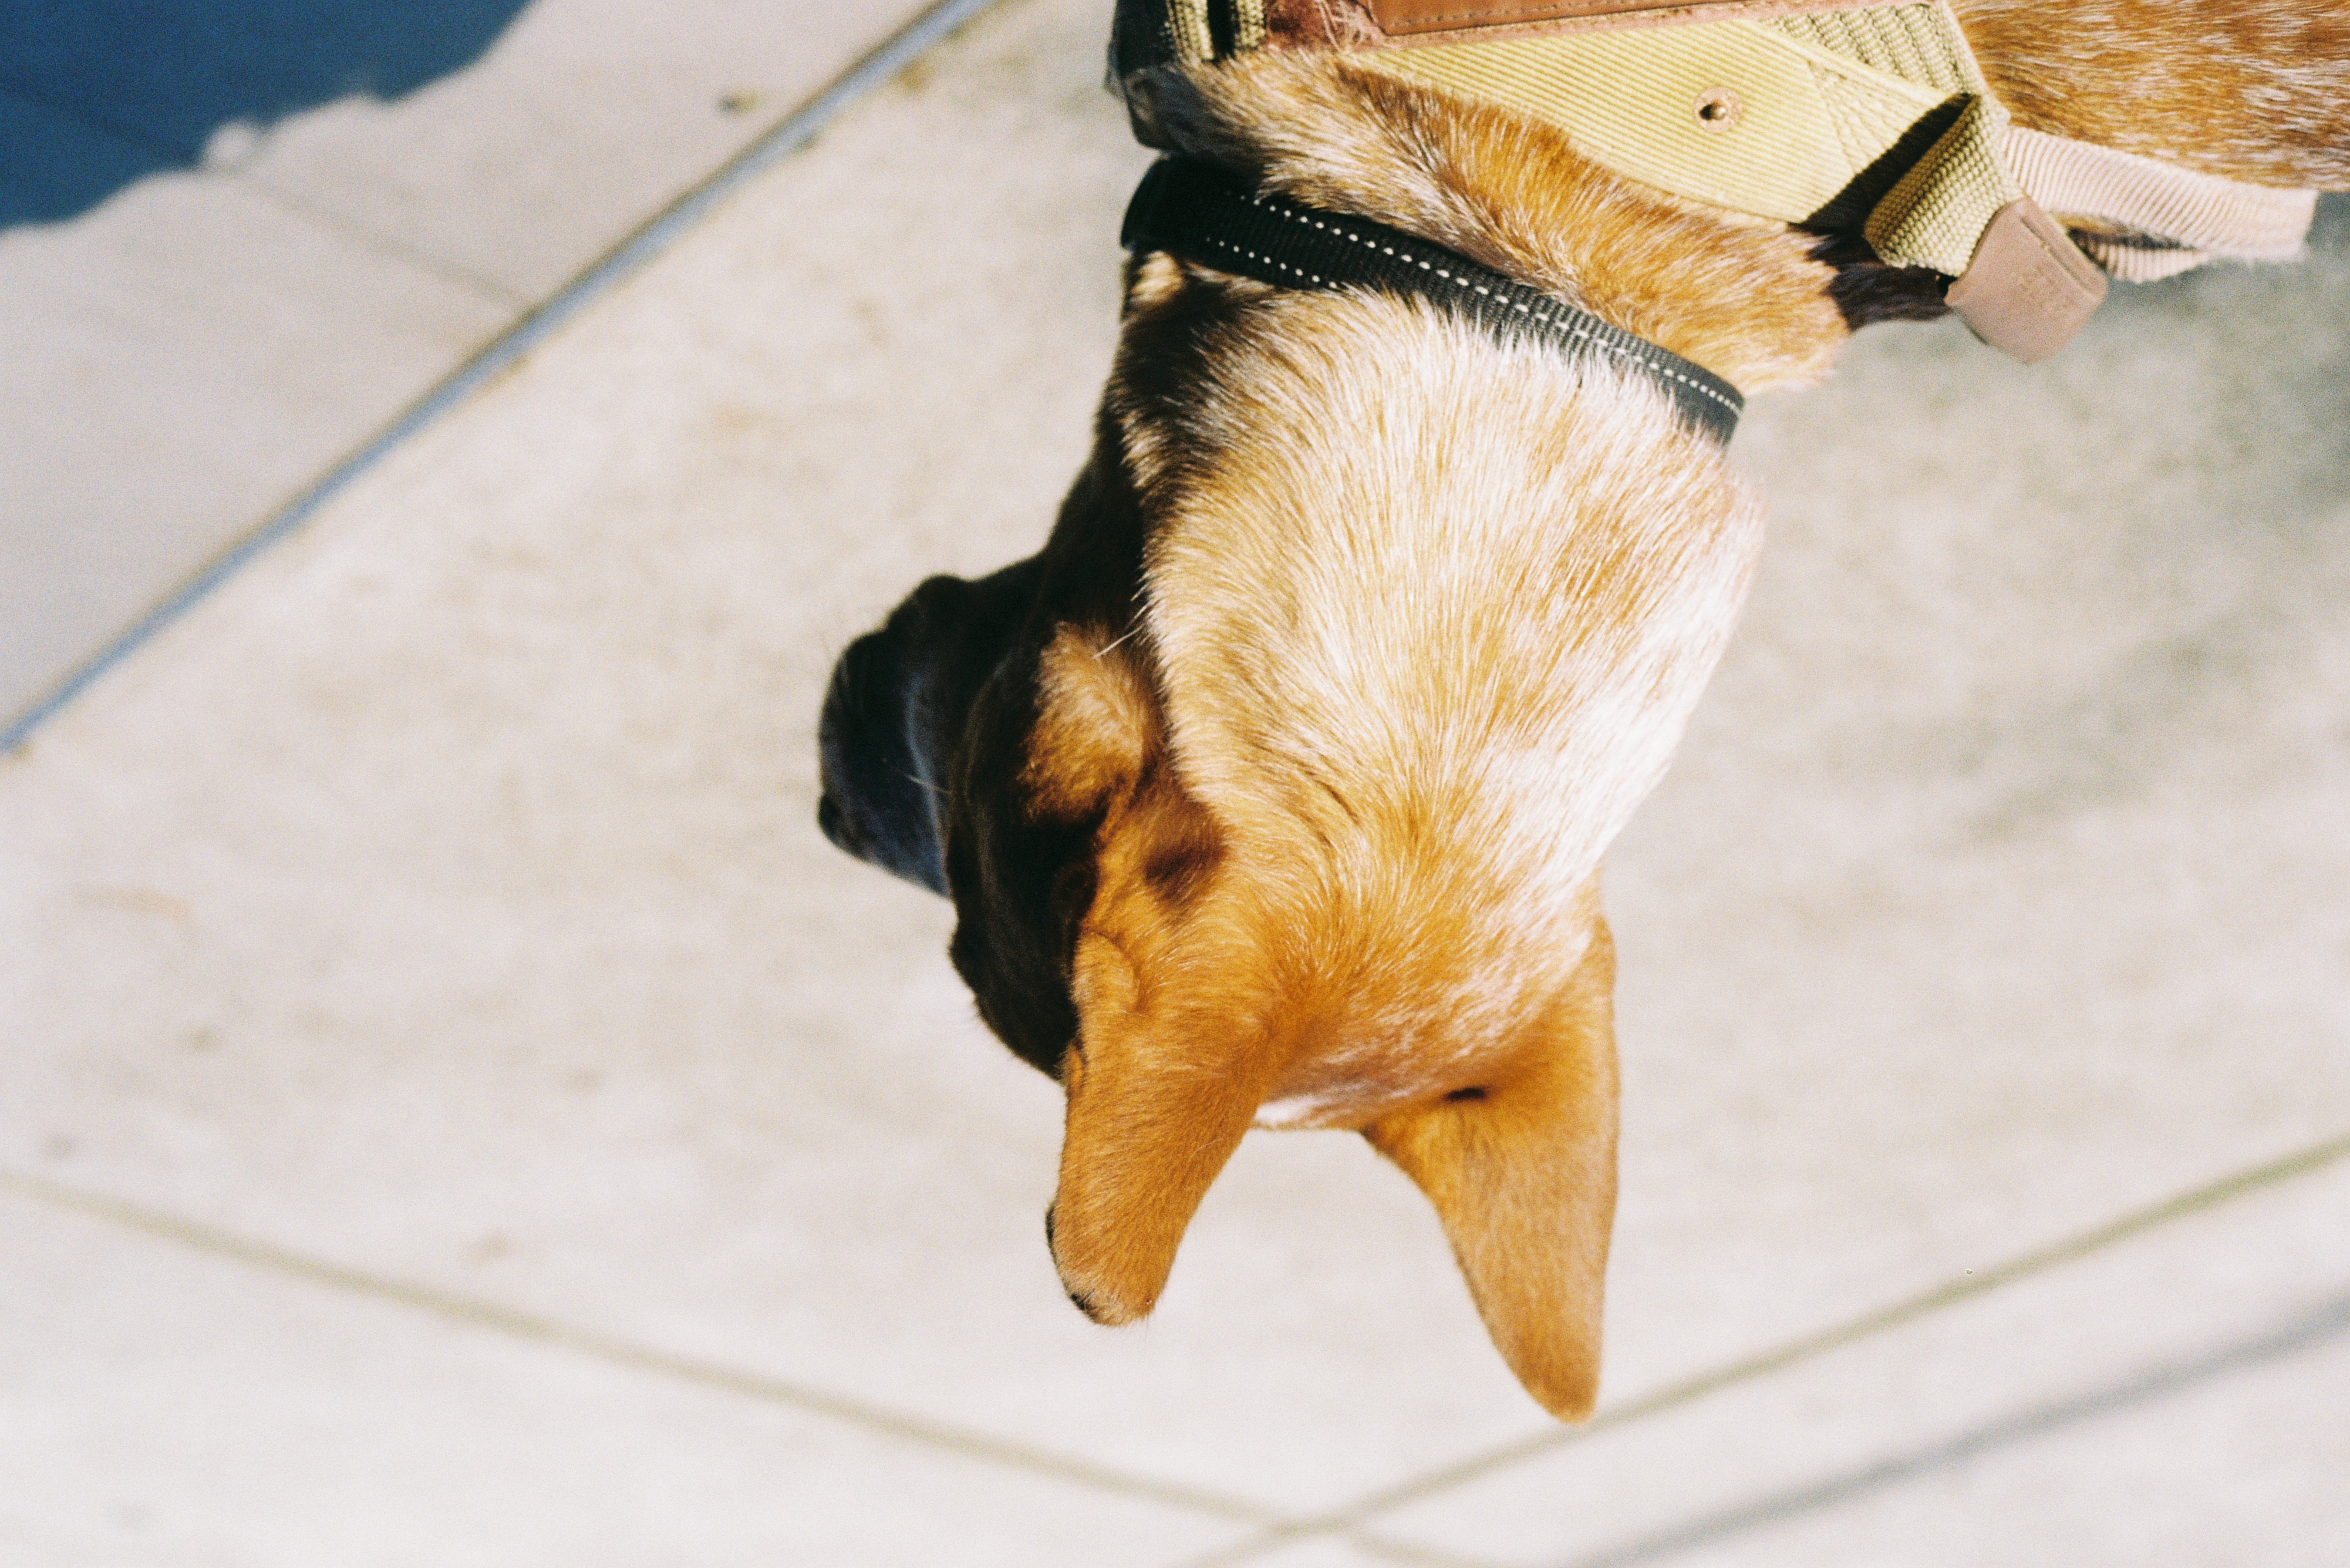
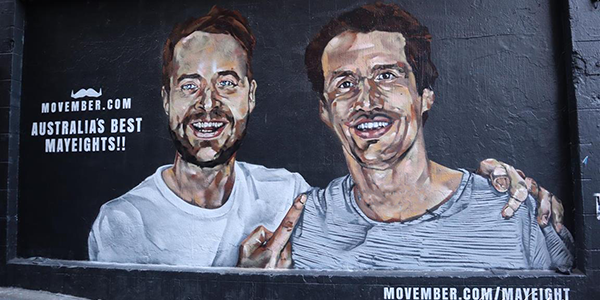
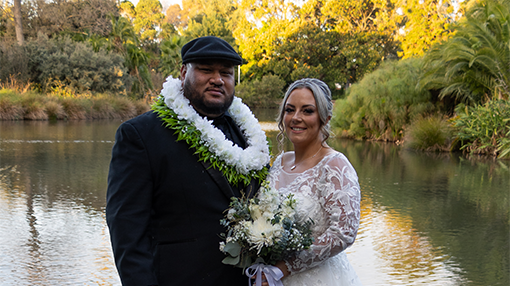
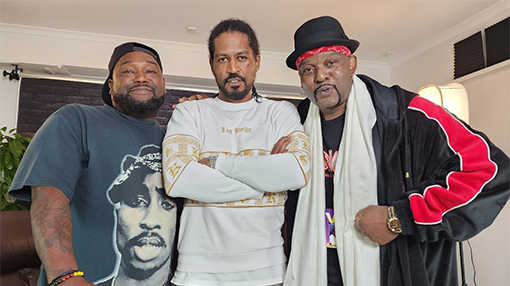
With the studio complete, the next objective was to find people who needed photos of themselves. We contacted some friends and models to take pictures of them to use in our respective portfolios.
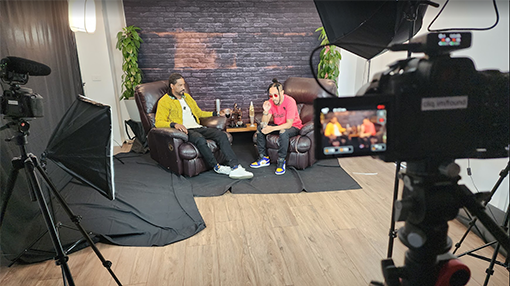
Jobs and Videos
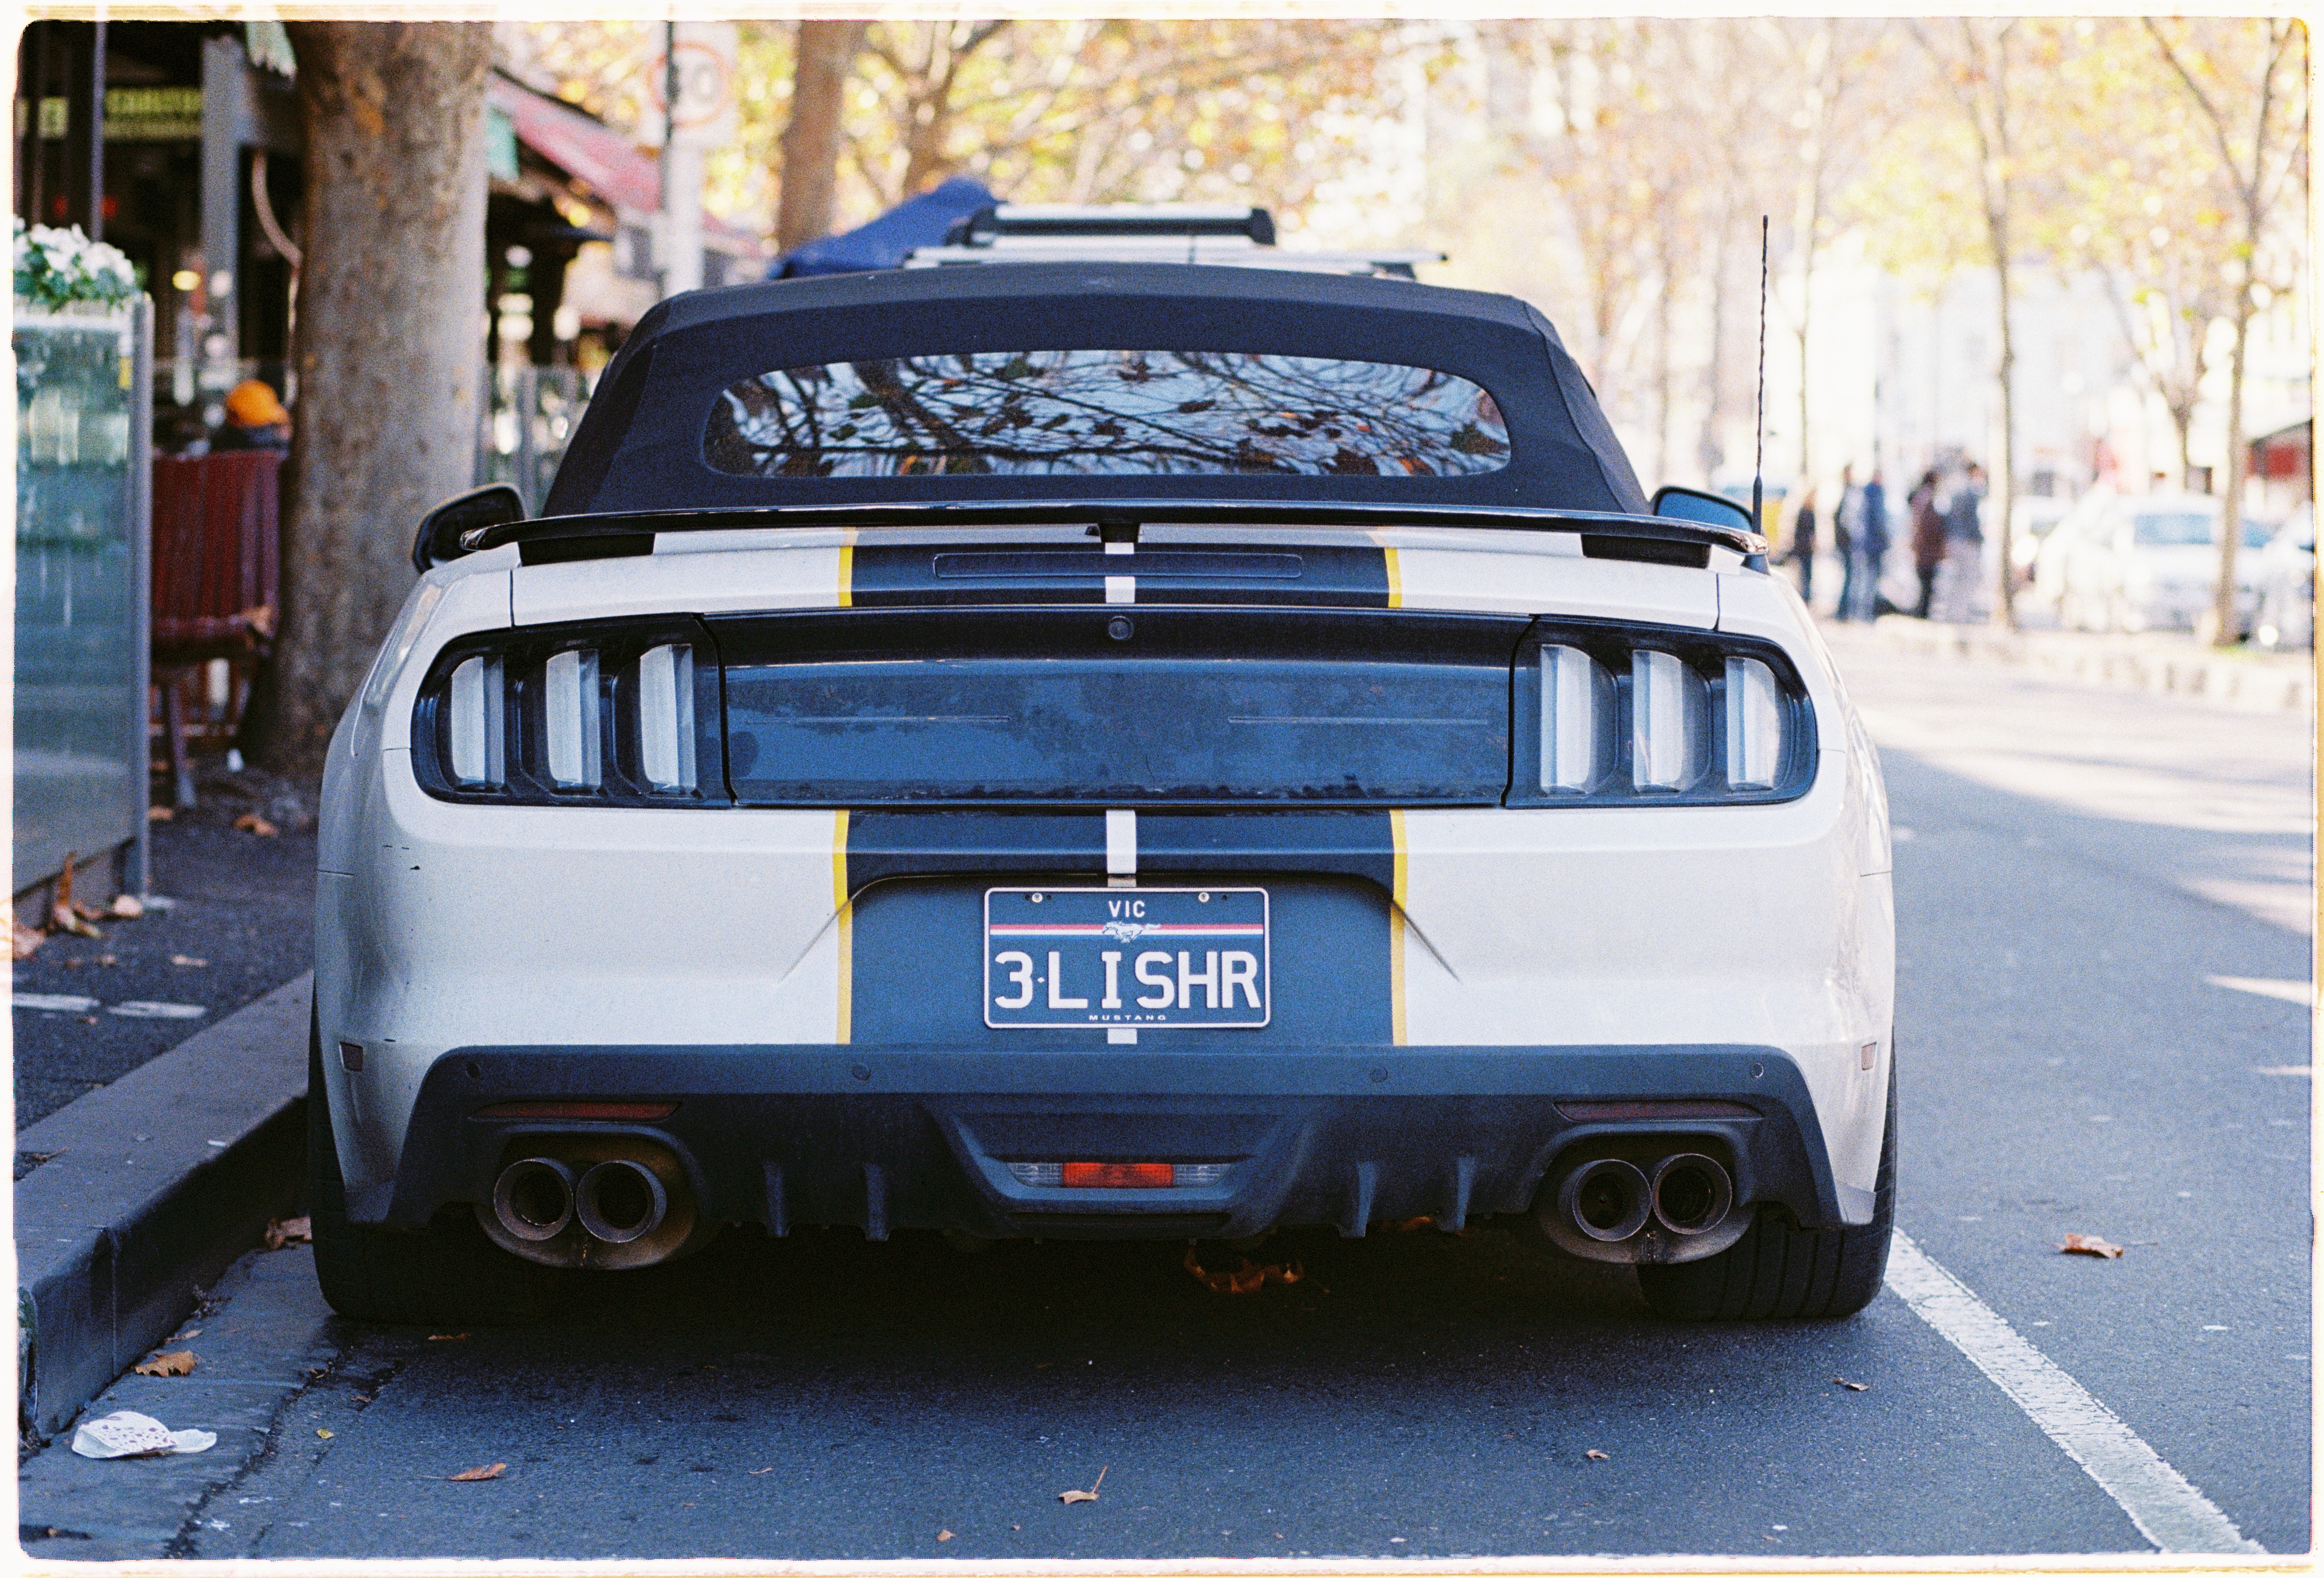
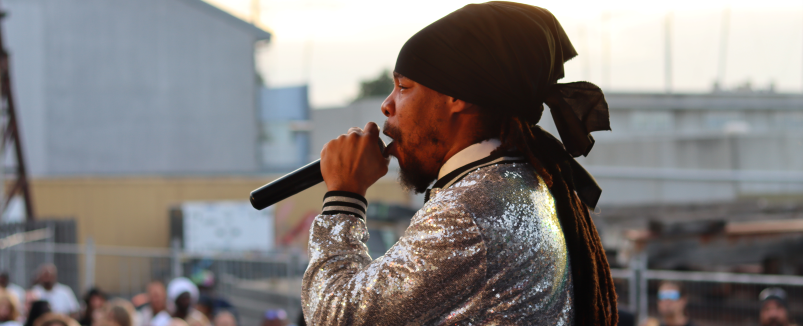
Following the photography sessions, we took on a few jobs and created some videos, showcasing the studio's capabilities.
Conclusion
Lockdowns were not easy, but they gave us the time and means to revamp our living spaces. In our case, it was transforming a concrete-floored room into a professional photo and video studio. The journey was long and tiring, but the result was worth it. Who knows, maybe we'll even turn it into a business one day!
FAQs
- How long did it take to transform the living room into a studio?
- It took several weeks to complete the entire transformation.
- Was it expensive to build the studio?
- Yes, it was quite expensive, but we were able to find deals on some of the equipment we needed.
- Did you have any previous experience in building a studio?
- No, we did not have any previous experience, but we did a lot of research and learned along the way.
- Do you have any tips for someone who wants to build a home studio?
- Do your research, plan everything out beforehand, and be prepared for unexpected setbacks.
- What is your favorite feature of the studio?
- Our favorite feature is the Neewer Backdrop, which allows us to create a variety of different backgrounds for our photos and videos.